


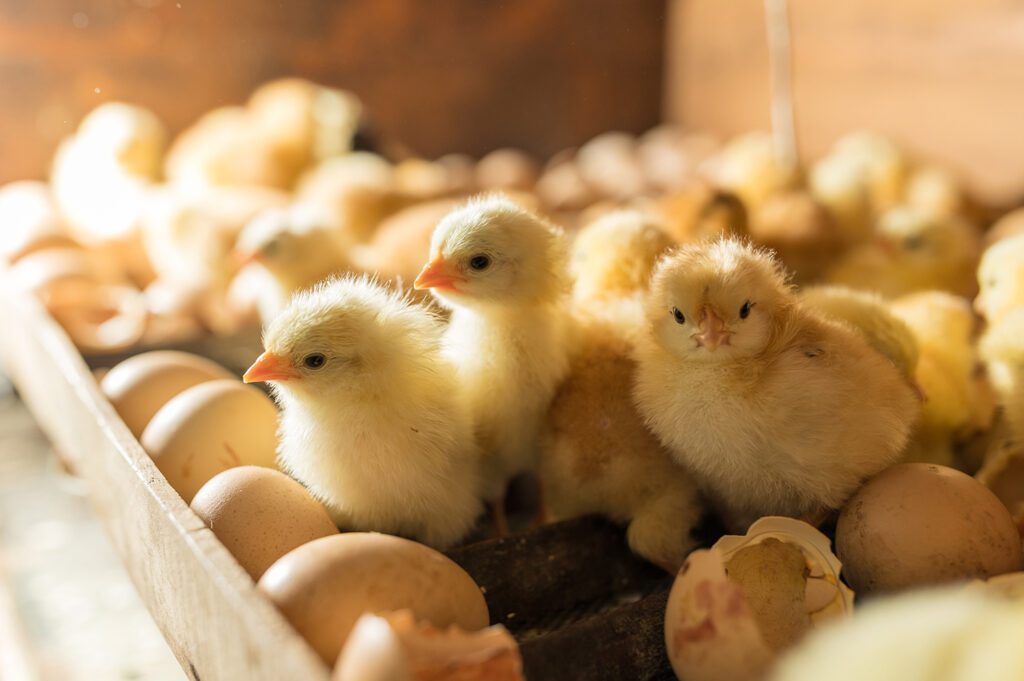
If you’ve been wondering how to hatch chicken eggs at home, you’re in the right place. The process is more manageable than most beginners expect, and with the right setup, you can go from setting eggs to brooding healthy chicks in just 21 days.
Whether you’re adding a new level of self-sufficiency to your backyard operation or trying it for the first time, this guide walks you through every stage of incubation so you know exactly what to do and when.
Before you set any eggs, make sure you’ve got these basics covered:
Run your incubator empty for 24 to 48 hours before you set any eggs. That gives you time to stabilize your settings and catch any temperature swings before they affect your hatch.
Once your equipment’s ready and your eggs are set, the first 18 days follow a fairly predictable routine. Your three main jobs are maintaining the right temperature and humidity, turning the eggs on schedule, and candling to check on development.
Understanding how to hatch chicken eggs at home really comes down to staying consistent with each of these tasks. Here’s what each one looks like:
For forced-air incubators, hold your temperature steady at 99.5 degrees Fahrenheit from Day 1 through Day 18. Still-air incubators typically run a bit higher, around 101 to 102 degrees measured at the top of the egg. Humidity should stay between 45 and 55 percent during this phase. You’ll raise it during lockdown.
Consistency matters more than perfection here. Fluctuations, especially dips below 99 degrees or spikes above 103 degrees, can affect development and reduce your overall hatch rate. Check your readings at least once a day so you can catch and correct problems early.
Once you’ve got your temperature and humidity dialed in, your next daily task is turning.
Turning the eggs is one of the most important things you’ll do during the incubation period. It prevents the developing embryo from sticking to the shell membrane and supports even development throughout the egg. Turn your chicken eggs at least three times a day through Day 18. Five turns a day is better, and an odd number of daily turns is recommended so the egg doesn’t rest on the same side two nights in a row.
If you’re using an automatic turner, check it daily to confirm it’s running properly. If you’re turning by hand, mark one side of each egg with a pencil so you can track rotation. Stop turning completely on Day 18 when you move into lockdown.
After Day 14, do one final candle check before you close things up for the final stretch.
You can start candling around Day 7. Hold a candling light against the larger end of the egg in a dark room. A developing egg will show a web of blood vessels and, by Day 10 to 14, a visible moving embryo. Eggs that appear clear or show a blood ring have likely stopped developing. Remove those from the incubator so they don’t affect the rest of your hatch.
On Day 18, stop turning the eggs and raise your humidity to 65 to 70 percent. The higher moisture level keeps the membrane inside the shell pliable so chicks can break through more easily when the time comes.
Keep the incubator closed during lockdown. Every time the lid comes off, humidity drops fast, and that can cause chicks to shrink-wrap inside the shell, making it very difficult for them to hatch on their own.
Most chicken eggs hatch between Day 20 and Day 21. The process starts with pipping, when the chick breaks through the membrane and pecks a small hole through the outer shell. After pipping, it can take 12 to 24 hours for a chick to fully emerge.
Resist the urge to help a chick hatch unless you have a clear reason to believe it’s in distress and you understand the risks involved. Stepping in too early usually does more harm than good.
Leave newly hatched chicks in the incubator until they’re fully dry and fluffy, which typically takes 12 to 24 hours. They don’t need food or water right away because they’ve absorbed the yolk sac just before hatching.
Once your chicks are dry and active, it’s time to move them to your brooder. Keep the brooder temperature around 95 degrees Fahrenheit during the first week, then drop it by about 5 degrees each week until your chicks are fully feathered.
Fresh water, a quality chick starter feed, and clean bedding are your priorities from the start. A good brooder setup makes a real difference in how well your chicks transition out of the incubator.
Now that you know how to hatch chicken eggs at home, the next step is making sure you’re starting with the best possible eggs. Low-quality or poorly stored eggs can limit your results even when your incubation conditions are exactly right.
At Freedom Ranger Hatchery, we offer fertile hatching eggs sourced from healthy, well-managed flocks. Whether you’re setting up a backyard hatch or expanding your operation, we’re here to help you start right.
Not ready to incubate? We also ship day-old chicks straight to your door within 24 hours of hatching. Browse our hatching eggs and day-old chicks and start your flock today.